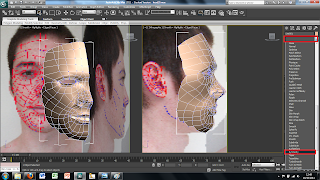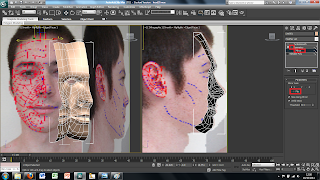
Once i was happy enough with the 3D nidek of half of the face i then used the symmetry tool to create the other side of the head. To do this i selected the model and under the modify tab i selected symmetry in the drop down box.

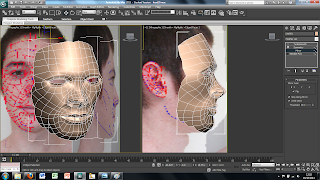
At first this tool may slight mess up your model as the symmetry line and the mirrored image may not be in the right place. To move the symmetry line i simply clicked on the + button next the the symmetry tool i added and then selected the mirror line in the drop down tree below the symmetry tool. This allows you to move the symmetry line into the right place. However to start with moving this into the correct place made my model disapear as it was trying to create the image on the wrong side. To create this i ticked the flip option which then created the image on the corrected line. luckily the mirror line was already on the right plane so therefoeee did not have to change this option.

After correcting these problems this is how my model looked. Producing this showed how certain areas of the face were not quite right, like the nose, and therefore used the vetex to corrected this by slightly moving certain parts of the face until it started looking better.

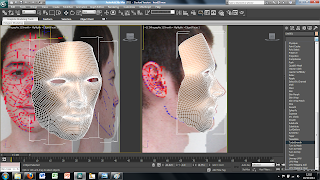
With the symmetry sorted out i then used the turbosmooth tool under the same tabs as the symmetry tool to smoothen the face out and moake it look more realistic. This again showed that certain parts of the face did not look right and therefore i had to go back and try and correct these issues.
No comments:
Post a Comment