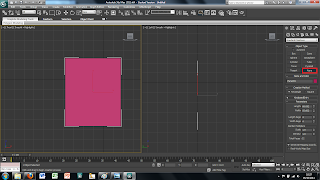
To transfer the 2D image in to 3DS Max first we created a plane using the plan tool in the 2D drawing tools on the right hand side. This plane can just be drawn free hand as long as it is in the right kind of shape.
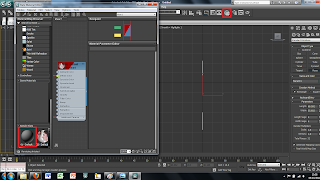
Once the plane is drawn the image we created earlier can then be placed onto this plane. To do this I first clicked on the material tool on the top tool bar. This brings up a new window. In this window there are spheres that represent different materials, at first all of these materials will be grey. To change this to the image I produced earlier simply double click on the material and use the bitmap tool. This will open up another window to add an image file to the sphere. Simply chose the correct image and load it and apply to the plane. At first the plane will change to a grey colour rather than the image this can be fixed by clicking the show image in view port in the material window, this will show the image in the main screen in 3DS Max.
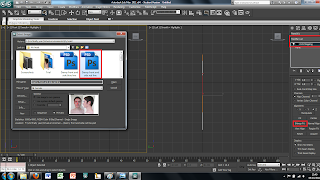
Although the image has been placed into the main screen of 3DS Max the picture is distorted to fit it into the plane sze. This can easily be fixed by using a modifier on the plane. To do this I selected the plane and added a UVW modify found in the modify panel. This will bring up alot of different options on the right hand side. The tool i used was the bitmap fit tool which brings up another window, in which is the folder and image file. I then selected the corresponding file this then sets the image size to the right size. However this makes the picture larger than the plane size therefore the picture needs to be moved to fit correctly into the plane.
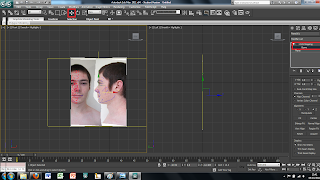
To do this i simply used the UVW modify the i used earlier and used the Gizmo tool in the drop down menu. This allows you to move the image freely around the plane so that I could place it into the right place. The plane, however, was also too small therefore, to change the size of the plane, I clikced on the plane and on the right there are tools for the height and the width so i changed these settigns until the plane was the right size.
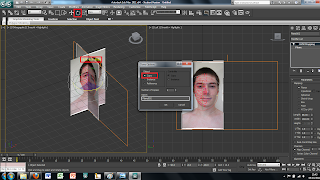
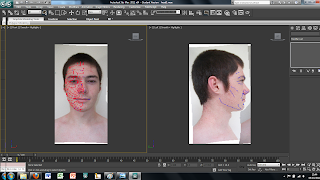
So far I have only imported the face on view of the image. To create the side view is easily done by selecting the plane and then using the select and rotate tool. This brings up rings around the image to rotate it around. To create a copy of the plane simply hold shift while rotating the plane 90 degrees. This creates a copy of the plane and the image all that needs to be down is move the image on the new plane to show just the side view of the face. Each plane can then be moved into place to where I wanted them to be.
No comments:
Post a Comment