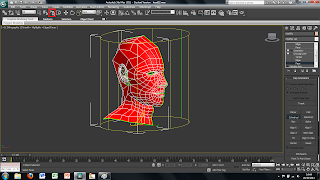
To create the right material for my head i first had to create a template so that the picture of my face would sit perfectly on the model. To do this i used a tool called UVW unwraping which is found in the drop down menu and the modify menu, making sure that i had the editable poly section highlighted. This tool helps create a flat version of the 3D model so that all the polygons can be seen. For this tool to work i had to create 2 templates one for the head and 1 for the ear as the ear is a very complex shape. So to do the head i first used the paint selection tool to select every polygon in the head apart from the ear.
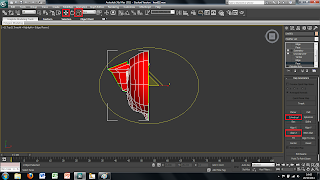
I then used the cylindrical tool so that the uvw mapping tool knows exaclty what i want to be flattened out. I resized this tool so that the whole head was inside the yellow cylinder. Once i had done this i then deselected the cylindrical tool and went into edit.
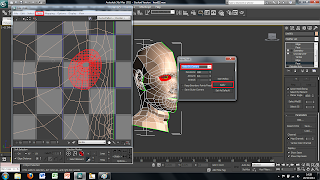
This brings up a new window in which the uvw mapping tool has tried to flatten out the model. Although it has flatten out most of it certain sections of the head where polygons overlap havent been flattened out how we want them. One area that this is very apparent is the eye, so to sort this out i used the face selection tool to select the face within the eye socket. I then went into the tool menu and used the relax tool. This brings up another menu and in this menu i changed the drop down menu to relax by centres and clicked apply a couple of times until i was happy with how it had flattened out the eye. I used the same technique for the nose.
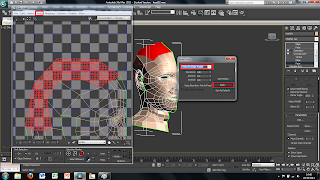
Another area that didnt turn out quite how i wanted it to was the top of the head. All of the polygons in this area were far to close together. To solve this problem i used the same tool as before but instead of relaxing it by centres i changed it to relax by edges. I then relxed the area i wanted a couple of times again until i was happy with it. I also used the vetex selection tool to move certain areas that were oddly shaped or too close together and manually moved them myself until i was happy with how it looked.
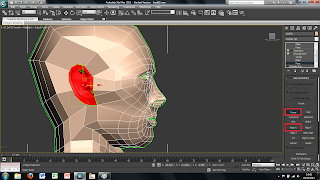
I then moved onto mapping the ear. I first selected the ear by using the paint selection tool again but instead of using the cylindrical mapping tool i used the planar tool and selected the x plane. This creates a yellow box surrounding the ear. I then deselected this tool and used the pelt tool.
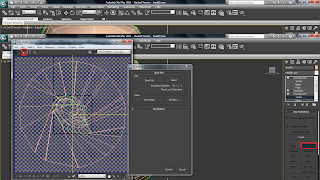
This brings up another window showing the ear and how it will be pulled out. I selected the outa ring where the ear was being pulled out to and moved it slightly to better line up and moved it out further so that the ear would be completely pulled out in the right way. I then used the start relaxing and pelt buttons to see how it would be pulled out until i was happy with the result. I then finalised this by cllicking on the commit button at the button. And then went back into the edit window to moce the ear map away from the head so that they werent over lapping.
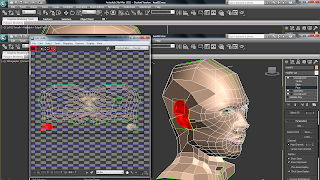
Making sure i had the symmetry section highlighted on the right hand side i then added another uvw unwrapping modifier. This will then create the map for the other side of the head as well however to begin with they will be overlapping. Tos sort this out i first went into the edit panel and in the new window selected the right hand side of the head and used the mirror tool to make sure it was the right was round and the moved to along side the left hand side. i then welded each side to each other across the seam to create one map. I did the same with the ear however didnt wled these together as they are not attached to each other.
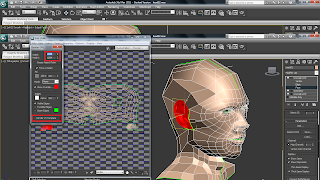
Once i had the mapping of the head done i then wanted to render the image out so that i could use it in photoshop. To do this i used the render tool in the tool menu. This first brings up a new window asking you what size and how you want to render out the image. I chose to set the proportions of the image as 2048 by 1024. I then hint render.
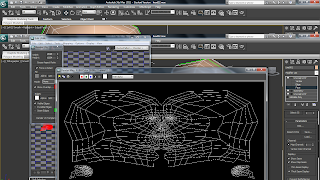
The image that rendered out was a black and white lined image of the map i had created.
No comments:
Post a Comment