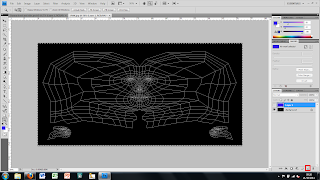
Using the rendered uvw map i made in 3DS max i opened it into photoshop and added a blue layer over the top. I then hid the blue layer and pressed control A to select everything and then control c to copy it.
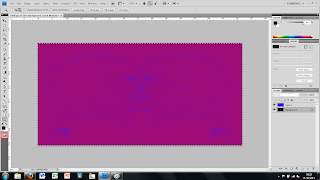
I then made the blue layer visible and made sure i had that layer selected. I then used the quick mask tool on the bottom left hand side and pasted the image into the blue layer. This created a line drawing of my map in this layer.I then made the border of the line drawing thicker so that it could be seen more easily.
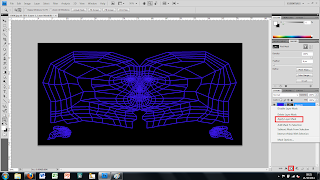
I then used the create mask layer at the bottom of the layers panel to create a mask making the lined drawing the thing visible with a clear back round. To finish this layer i then right clicked the mask part of the layer and chose to add mask layer. This finalises the layer and turns it back into a normal layer.
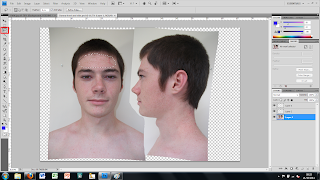
With my template layer complete i then opened my file with the picture of the front and side of my head so that i can create my face as a mask. To do this i used the laso tool to select different parts of my face.
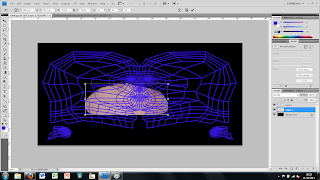
I then copied and paste this shape into my mask file and resized and shaped it to fit into the section of the mask i wanted it to. I carried on these steps to start filling in the mask and recreate my face.
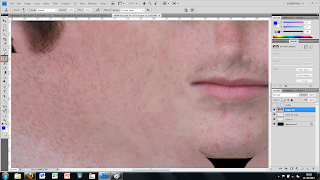
As all the parts may not fit together perfectly and leave seams and line were the colours dont match up properly i used the copy stamp tool to blend some parts into each other. This is done by holding Alt and clicking on an apropriate section colour and then clicking and dragging over the seam to bland them into each other. Although this works well if you go over a seam a few times the colour tends to become blurred and you can lose the quality of the pictrue.
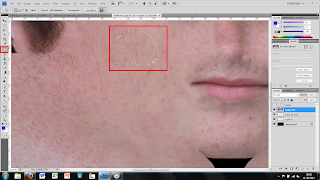
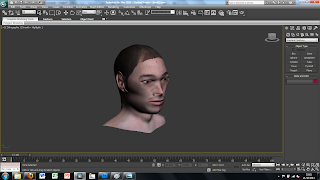
Another tool i used to blend each section into each other was the patch tool. This uses the texture of other parts of the face to blend other sections into each other. This is used like the laso tool in that you first drag over a clean area and then click and drag the section over a seam to blend each section into each other. This tool dosent blur the image so is better to use rather than the stamp tool. Whilst doing this i uploaded the unfinished mask into 3DS max to see how the face was looking on my model. This is helpful as when ever you make changes in photoshop and then save it you can see what effect this has on the model as it changes in 3ds max straight away.
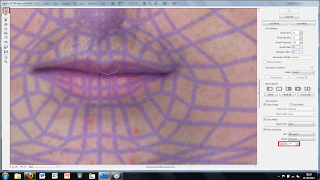
The final tool i used to make sure that the mask fit onto my model how i wanted i used the liquify tool found under the filter tab. This brings up another window in which you can slightly move the features of the face by stretching the image. I used this to slightly move my mouth so that it was in the right poistion on my model.
No comments:
Post a Comment