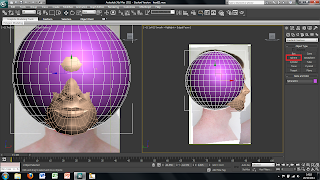
To create the rest of the head i first used the sphere tool to create a ball and then moved it into position with the face.
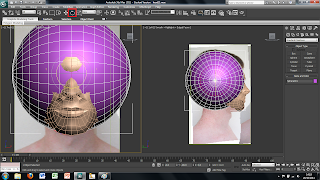
After creating the ball i then rotated it around so that the polygons going to almost a point where on the sides of the head.
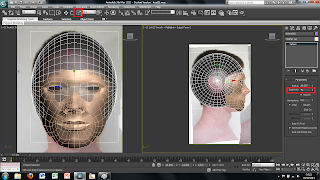
I then resized and shaped the sphere to match the shape of my head and changed the number of segments in the sphere to match the number of lines coming up from the face so that it would smoothly follow into each other. This makes it alot easier later on when trying to attach the sphere to the face.
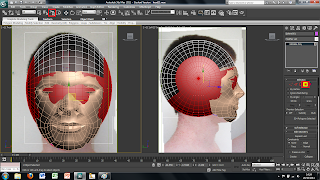
As i dont need the whole sphere i next converted the sphere into an editable poly and selected all the polygons that i didnt need using the grow tool and paint selection tool. I then deleted these sections.
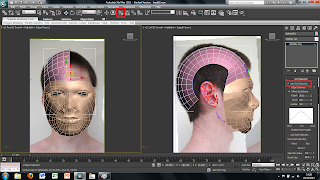
Using the existing polygons i then used the soft selection tool to move the points that would attach to the face to the correct position. To do this i turned on the vetex snap on tool on the top menu and moved each point to the correct position.
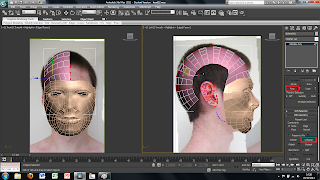
With the top of the head all lined up i then reduced the amount of polygons in the sphere by selecting every other edge along the side and then using the ring tool to select all the corresponding lines across the head. I then used the collapse tool found in the right hand menu this reduces the amount of polygons in the head and will make it easier to work with and render at the end making the file a smaller size.
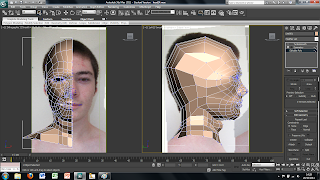
To finish off the head i then attached to the face and welded it to the face by using the weld tool. I then draged across and down the edges of the head by holding shift and drag a new polygon out. I then used the target weld tool to make sure all vetex were attached to both the head and the face. I carried this on to create the side of the head and the neck as well as part of the shoulders that could be seen.
No comments:
Post a Comment