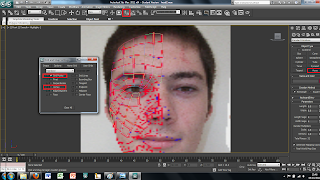
Once the Photoshoped image of my head was imported into 3DS Max i could now start producing the 3D model. To start i used the line tool under shapes menu to draw over the red lines i had created on my face in photoshop. After drawing the very first square i then turned the snap on toggle tool to make sure that the next square i drew would attach to the first one and so on. To make sure the settings of the snap tool were how i desired i right clicked on the snap toggle button and another menu comes up as shown in the picture above. On default 3DS Max has the grid points selected this needs to be deselected and the vetex points needs to be ticked. This makes sure that all the corners of each face will be connected.

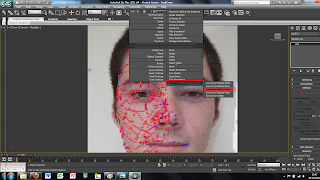
With the whole mesh draw using squares i then selected one of these squares and turned it into an editable poly by right clicking it and using the convert tool and convert the selected square to an editable poly. This will fill in the square and turn it into an object rather than just a line.

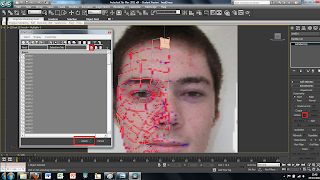
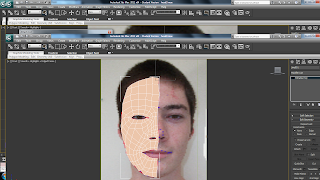
While this square is still selected i then used the attche tool under the modify menu on the right to attach all the other squares to make one object. This is easily done by clicking the sqaure box next to the attach tool whihc brings up another menu. In this menu will show you all the different parts that are currently selectable. I wanted to select all the objects therefore just used the select all button and then clicked ok. This then automatically turns each of the squares into an editable poly ready to be turned into a 3D model.

No comments:
Post a Comment